

What is Vacuum casting-Polyurethane casting?
Vacuum casting, sometimes referred to as Urethane casting or Polyurethane casting uses silicone moulds to make plastic and rubber components under vacuum. It is an extremely adaptable manufacturing process capable of mimicking the injection moulding to produce complex parts in polyurethane resins and cast nylon.
Due to the process being under vacuum, it produces high-quality bubble-free casting with smooth surface texture without any blemishes.
Vacuum casting can be extremely useful in rapid prototyping injection moulding parts and worth considering when selecting rapid prototyping processes for plastic or rubber parts.
Characteristics & applications of vacuum casting
- Vacuum casting is one of the most cost-effective ways to produce high quality, low volume plastic parts which can be similar to injection moulding parts
- The parts are especially suitable for form, fit and function tests during the embodiment design stages, where they can be used for marketing, field user testing and product design verification purposes
- There are many vacuum casting resins commercially available that can be used to create parts to satisfy a wide range of design requirements such as temperature requirements, different surface textures, hardness, etc.
- Materials are also available to create parts that are fully opaque, translucent or completely transparent
- Sometimes high-quality wax masters can be made using vacuum casting for investment casting to increase the finer details of intricate features
Typical technical specification
| Time frame | Within 24 hr – 5 working days for up to 30-50 parts |
| Material choice | Wide variety of materials available |
| Accuracy | ±0.3% (with a lower limit of ± 0.3 mm on dimensions smaller than 100 mm) |
| Minimum wall thickness | To ensure that the mould is filled properly, a wall thickness of at least 0.75 mm is necessary. But best results are achieved with a recommended wall thickness of 1.5 mm |
| Maximum part dimensions | The size of the mould is limited by the dimensions of the vacuum chamber |
| Typical quantities | Up to 50 parts per mould |
| Surface structure | Gloss to Matt surface finish can be obtained |
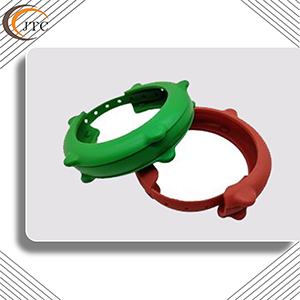
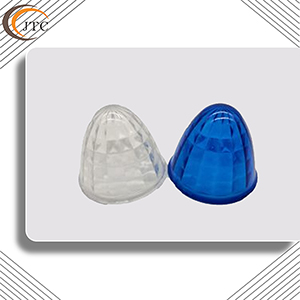
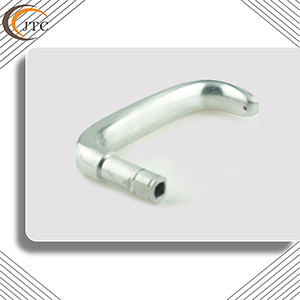
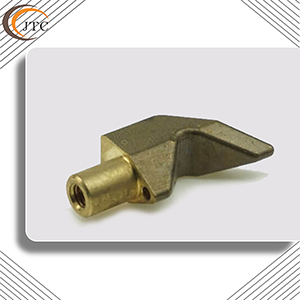
Case Study
|
|
|
|
|
How does vacuum casting work?
Vacuum casting works in a similar way to traditional injection moulding where it requires a mould tool with a part shaped cavity. Where injection mould tools are made from metal (steel, aluminium etc), vacuum casting uses soft silicone moulds.

Get An Instant Quote-Saving Your Cost
Step 1 – Model 3D part
Like most of the manufacturing processes in this modern era, the process begins by 3D modelling the required shape or 3D geometry. As a rule of thumb, products designed for vacuum casting must follow injection moulding design guidelines, to achieve better results. Sometimes, the parts can be inspected using 3D laser scanning which can create and output 3D files.
Step 2 – Create a master pattern
The master pattern is then created from the 3D CAD model. Although they were traditionally made using CNC machining or handcrafted, these days it is much quicker to use additive manufacturing. 3D printing techniques such as SLA or SLS are most suitable and cost-effective as the pattern maker.
But, if you have a cast model which can be used as the master pattern then it can be used directly. However, note that the patterns must be able to withstand temperatures up to 40°C.
Sometimes, metal inserts are used to hold tight tolerances in bores and critical areas.
Then, the parts are hand finished manually by cleaning and creating the required surface finish. Surface textures such as gloss and matt can be achieved by painting/spraying the master pattern.
Step 3 – Make silicone rubber mould
Next, a silicone mould is created using the master pattern.
- The Master pattern is fitted with cores, inserts and casting gates and suspended inside the casting box. Risers are put on the part to allow air to escape from the final mould.
- Silicone is then poured around the master under vacuum into the casting box, where it flows around the master pattern filling every single detail.
- Then this is allowed to cure inside the oven at around 40℃ for about 8-16 hours. The time will depend on the size of the silicone mould.
- Once the silicone rubber has cured and dried, the box and risers are removed.
- Finally, the mould is carefully split using a scalpel, exposing the negative shape cavity of the part. The wavy cut ensures accurate alignment of the 2 mould halves during the production process.
- Choosing the right mould-release agent and using it properly is key to avoiding stickiness and surface defects.
Step 4 – Mix and pour Polyurethane resin
Casting polyurethane resins are generally preheated to about 40°C before the mixing stage. A two-component casting resin is then mixed in exact proportions including any coloured pigment and poured into the bowl inside the machine. The mould is then returned and pouring gates are connected to the mixing and pouring bowl.
During the auto pouring process, the casting resins and the colour pigment are fully stirred and deaerated for 50-60 seconds under a vacuum. Then, the resin is poured into the mould under a vacuum to avoid any air pockets or voids. Vacuum ensures bubble-free moulds and removes any resistance to flow caused by pockets of air inside the tool and the filling of the tool takes place by gravity feeding alone.
Step 5 – Demould the cast part
When the resin has been cast, the mould is then placed in a heating chamber to cure. Once cured the casting is removed from the mould. Next, the gate and risers are removed from the casting and any additional finishing is carried out.
The following video illustrates the method of mixing and poring inside Renishaw’s vacuum casting machine.